Endpoint Privilege Manager Part 1: Introduction & Setup
Learn what Intune Endpoint Privilege Manager is and how to set it up in your environment.
Endpoint Privilege Manager Part 1: Introduction & Setup
If you’ve ever dealt with local administrator accounts in your Windows environment, you know the pain: shared passwords, users with unnecessary admin rights, and compliance auditors asking “who has admin access to what?”
Microsoft’s Endpoint Privilege Manager (EPM) solves this. Part of the Microsoft Intune family, EPM gives you control over local admin passwords across your fleet—without handing out permanent admin rights like candy.
Let’s break it down.
What is Endpoint Privilege Manager?
Endpoint Privilege Manager is Microsoft’s answer to local administrator password management (LAPM). It’s designed to:
- Manage local admin passwords across all your Windows devices automatically
- Rotate passwords on a schedule you define
- Provide Just-In-Time (JIT) elevation when users actually need admin rights
- Reduce the attack surface by eliminating standing admin accounts
Here’s the core problem EPM addresses: Every Windows machine has a local Administrator account. In most organizations, either:
- Everyone knows the password (insecure)
- IT sets a complex password but it’s the same everywhere (also insecure)
- The account is disabled, but then users can’t install software or make system changes
EPM gives you option #4: Controlled, temporary admin access with full audit trails.
Why Use EPM?
| Problem | EPM Solution |
|---|---|
| Shared admin passwords | Each device gets unique, rotating password |
| Users have permanent admin rights | Just-In-Time elevation when needed |
| No visibility into who used admin rights | Full activity logging and reporting |
| Compliance failures | Audit trails for every elevation request |
Prerequisites
Before you can use EPM, make sure you have:
1. Intune License
- Intune Plan 1 (included with Microsoft 365 Business Premium, E3, E5)
- Intune Plan 2 (included with E5, available as standalone)
2. Azure AD
- Azure AD P1 (included with Intune Plan 1+)
- Azure AD P2 (included with Intune Plan 2)
3. Supported Devices
- Windows 10 version 1903 or later
- Windows 11 (all versions)
- Devices must be:
- Azure AD joined, or
- Hybrid Azure AD joined, or
- Intune-enrolled
4. Endpoint Manager Admin Center Access
You’ll need Global Admin or Intune Administrator role to enable EPM.
Setting Up Endpoint Privilege Manager
Let’s walk through the setup process step by step.
Step 1: Verify Your Licenses
- Sign in to Microsoft Endpoint Manager admin center (https://endpoint.microsoft.com)
- Navigate to Tenant administration → Licenses
- Check that you have one of:
- Microsoft Intune Plan 1 or Plan 2
- Microsoft 365 Business Premium
- Enterprise Mobility + Security E3/E5
Screenshot: 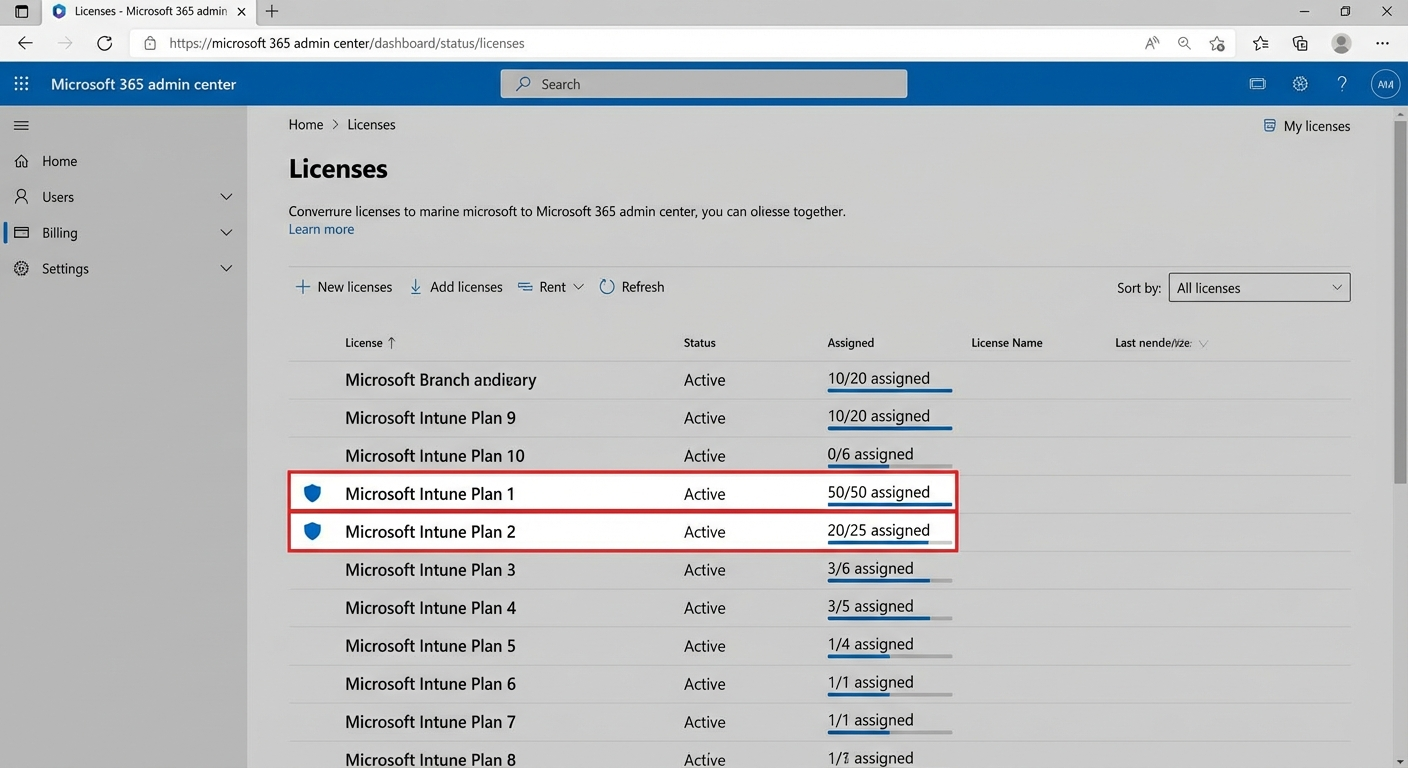
Step 2: Enable Endpoint Privilege Manager
- In Endpoint Manager, go to Devices → Endpoint Privilege Management
- Click Get started or navigate to the EPM blade
Screenshot: 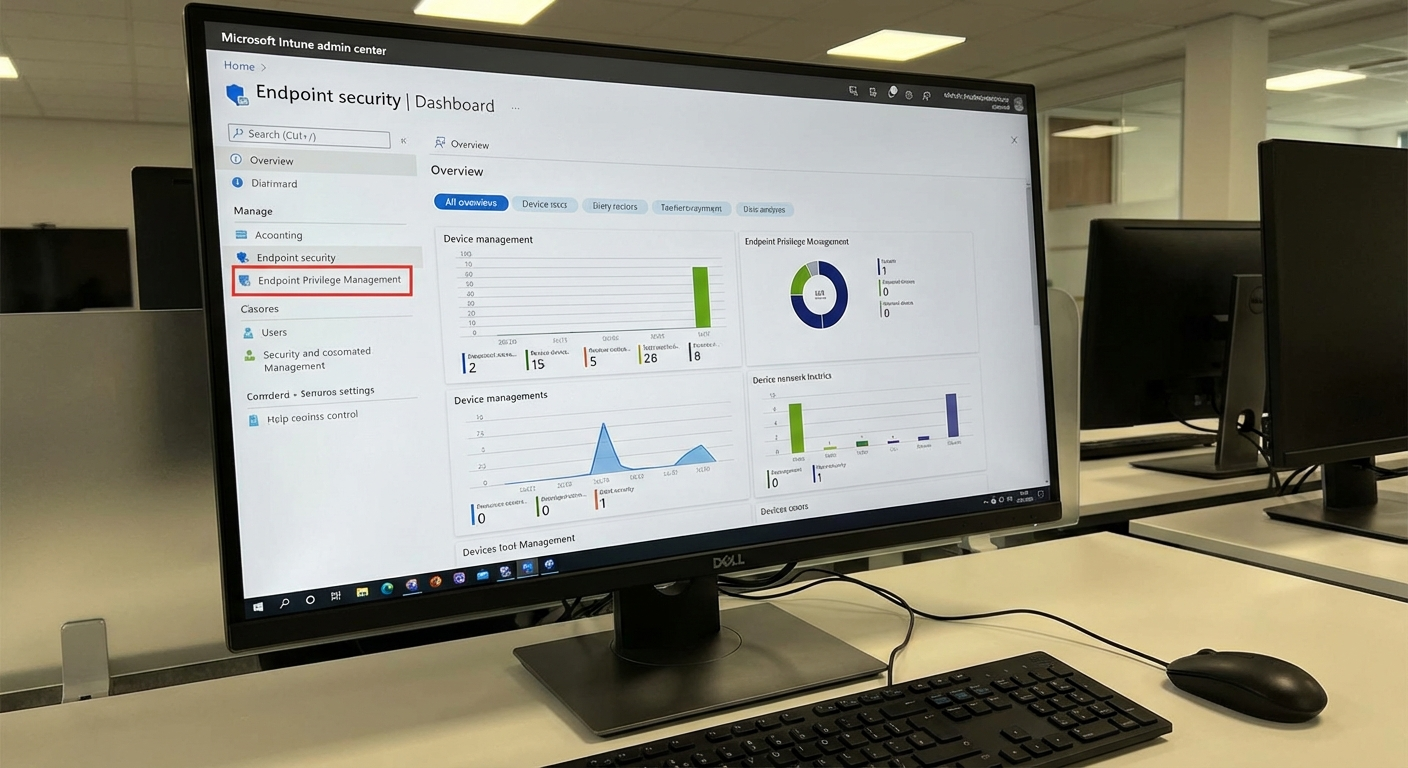
-
Review the permissions EPM requires:
- Create and manage device targeted scripts
- Access devices for password rotation
- Read Azure AD device information
-
Click Enable to turn on EPM
Note: Enabling EPM doesn’t immediately affect your devices. You need to create and assign policies first—which we’ll cover in Part 2.
Step 3: Assign Permissions (Optional)
By default, only Intune Administrators can manage EPM policies. You can add more administrators:
- Go to Tenant administration → Roles → Administrative licenses
- Create a custom role with EPM permissions, OR
- Assign users to built-in roles with EPM access
Step 4: Verify Device Compatibility
Before rolling out policies, check which devices support EPM:
- Go to Devices → All devices
- Filter by OS → Windows
- Check the Join type column (needs Azure AD join or Hybrid join)
- Check Last check-in status
Devices that are:
- Azure AD joined → Fully supported
- Hybrid Azure AD joined → Fully supported
- Intune enrolled (workgroup) → Limited support
What’s Next?
Now that EPM is enabled, you’re ready to create your first policy. In Part 2, we’ll cover:
- Creating policies (Just-In-Time vs. Scheduled)
- Configuring elevation rules
- Setting up approval workflows
- Targeting users and devices
The real power of EPM comes from properly configured policies. Let’s make sure you get it right.
Series: Endpoint Privilege Manager
- Part 1: Introduction & Setup (You are here)
- Part 2: Creating Policies & Rules
- Part 3: Management & Troubleshooting